Tuesday, November 16, 2010

B2S (Back to School) 12x12 LO

Happy Tuesday everyone! Hope you are all having a great start to your week! Today I wanted to share with you a LO I recently completed that features our son's first day of high school a few months ago. They grow up so very fast & I just can't believe he is already a freshman! He is such a wonderful child & we are super proud of him. He has really blossomed this year & is turning into a responsible young man...he even recently was selected (1 of only 4 boys!) to be part of his school's peer mediation program. Basically, he is going to counsel other students & we think that is just awesome! We are so totally blessed by God to have this child!

All of the products I used here are by Jillibean Soup...and I just love their paper! I happened to win a kit featuring a few of their products over the summer & wow, I was definitely impressed! Their designs & colors are so fun & right up my alley. Take a chance to check them out if you can! The only products I did use that weren't by Jillibean Soup were the vintage dictionary pages, some Old Olive SU! ink for distressing, the twine from my stash, & some Tattered Angels Glimmer Mist on the corrugated cardboard letters. You can find the Tattered Angels Glimmer Mist in the Your Memories Here Store at a great price...trust me!!

Thanks so much for stopping by today & checking out my LO!! I really appreciate all your comments & they mean the world to me...each & every one of them! Make sure to stay tuned for some more crafty posts this week as well as a big announcement on my part...super excited to share it with you too! Until then, Happy Craftin'!

I'm also entering my card into the following scrappy challenges!

Creative Scrappers - Sketch
Lasting Memories - Die cuts (letters, journaling spots, layered borders)
Ai Factory - Diecut or Punches

Sunday, November 14, 2010

Handmade Christmas Tags w/YMH!

Happy Sunday my crafty peeps! I'm back with you to share a Christmas project for Your Memories Here & hopefully inspire you to get started early on all of your holiday projects, if you haven't already. And while most of us don't want to deal with it yet, Christmas will be here before we know it & for once I am bound & determined not to start late! So on that note I would like to share with you a set of Christmas tags I made this week featuring some fabulous Prima, Tattered Angels, Cricut, & Imaginisce products you can find in the Your Memories Here Store.


Every year I say I am gonna make handmade gift tags & never do, but this year I was inspired by some beautiful tags in my current Scrapbooks Etc. magazine. These tags are super easy to make & help you use up some of that stash too! I used Prima lace, ribbon, pearls, polka dot patterned paper & the cute checkerboard background stamp that you can find HERE in the YMH Store. The black cardstock is by Tattered Angels & can actually be found in the Spooky Findings Kit...I told you that rockin' kit was soooo versatile!! Visit the YMH Store HERE to see all the fab, and some new, Tattered Angels products & kits. The beautiful Believe stamp set is by Imaginisce & I just love it! You snag the stamp, at an amazing price ($1.25), right HERE in the YMH Store. I also used my Cricut for a few of the die cuts & you can check out YMH's Cricut inventory HERE. The rest of the items were just from my stash & most were scraps! My favorite thing though are the little jingle bells...love that holiday sound!!

Thanks so much for taking the time to stop by & check out my project this week! I really do hope it inspires you to create your own Christmas tags or get started early on your holiday projects. And don't forget to stop by the Your Memories Here Store and the Your Memories Here DT blog too! So much fabulous inspiration at both places! Happy Craftin'!

I'm also entering my Christmas tags into the following challenges! Make sure to visit them for some fabulous inspiration!

EIC
- Inspired by Happy Day Designs' Sweet Pepper Necklace's fab Christmas color!
Speedy the Cat/Mark's Finest Paper - Snowflake (on Believe tag)
Cupcake Inspirations - Christmas Cuppies
A Spoon Full of Sugar - Snow or Snowflakes (on Believe tag)
Crafty Creations - Buttons
The Color Throwdown - Color Combo
Cute Card Thursday - Anything Goes

Show and Tell Green


Friday, November 12, 2010

Fabulous Fall Wreath!


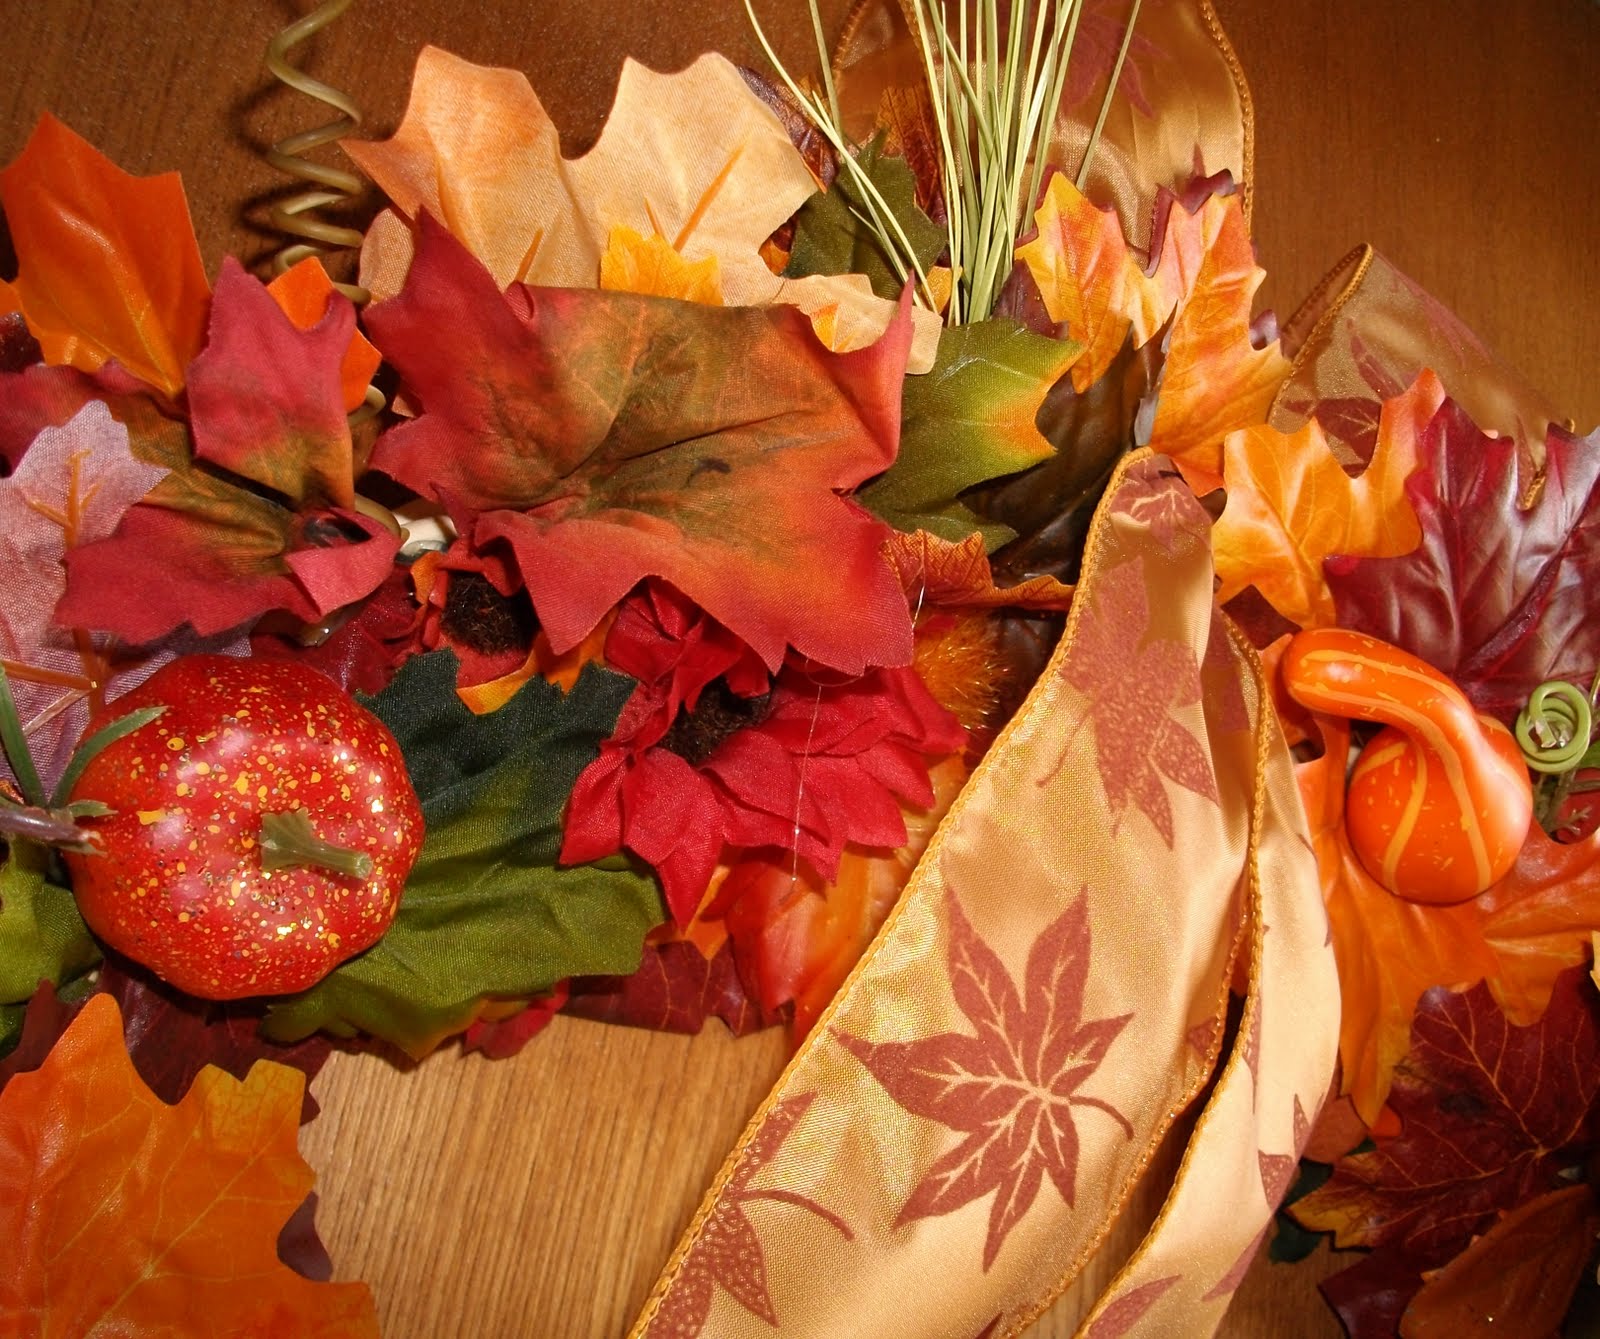
Happy Friday everyone! I just wanted to pop in & share with you a super easy & very inexpensive fall wreath I made recently. I was inspired by Allison from House of Hepworth's...she has an amazing tutorial on her blog for this wreath!! I followed it pretty much to a "T" & had wonderful results! Every single thing for the wreath was purchased at my local Dollar Tree & its total cost was only $11!! Amazing, right?! I've already had several requests from friends & family to make them one too, which makes me even happier.


As I said earlier, it is super easy & I created mine in under 2 hours! So, jump on over to Allison's amazing blog & check out her tutorial HERE. I would love to see your fall wreath if you create one too! Make sure to check back Sunday for my weekly Your Memories Here creation! Until then, Happy Craftin'!


Thursday, November 11, 2010

Christmas Cupcake Kitty!

Once again, Happy Thursday everyone! It's getting close to that time of year again, and while I know many of you don't want to deal with it yet, I've actually started early this year for Christmas. For once, LOL! Usually I wait until the last minute to do anything, but this year I'm really planning ahead...besides, it's super easy when you can whip up totally cute cards using adorable 2 Cute images!! This little kitty digi is appropriately named Cupcake Kitty & you can grab your own RIGHT HERE in the 2 Cute Store. The great thing about Cupcake Kitty is there are several different versions too!


Supplies:
Cupcake Kitty digi by 2 Cute Rubber Stamps
Coloring Pencils - Prisma
Pen - Black Copic Atyou Spica Glitter
Patterned Paper - American Tradition Designs, Recollections, Provo Craft
White Cardstock - The Paper Temptress
Ink - Stampin' Up Old Olive
Stickles - Ranger
Bling - Studio G
Ribbon - Michael's
Punch - Martha Stewart
Stash - Sentiment Sticker, Diecut Santa Hat, & Pop Dots

Thanks so much for stopping by & taking a peek at my card...I hope this inspires you to get started a little early, if you haven't already, on all your Christmas plans...it'll be here before you know it! And, don't forget to stop by the new 2 Cute Store for some fab stamps...many of which are so versatile you can use them for any occasion or holiday! Or, the 2 Cute DT blog...you'll love the inspiration you'll find!! Until next week, Happy Craftin'!

I'm also entering my card into the following challenges!

Pile It On - Furry Christmas
A Crafty Little Place - Red, Green, & White
Catch the Bug - Anything Goes
Stamp Something - Digi Day
Stamptacular Sunday - DT Inspiration (Karita's BEAUTIFUL Christmas Card!)
Bee Crafty - Christmas
Creative Stamp Friends - My Favorite Stamps
Digital Tuesday - Use Your Unused Stash (diecut santa hat)
ABC Challenge - H is for Holiday


Sunday, November 7, 2010

Kusudama flower tutorial w/matching corner bookmark!

Hello again everyone! Hope you are having an amazing Sunday...we are driving down to Texas Motor Speedway today for some family fun! This week I decided to share my first tutorial for Your Memories Here...a kusudama flower. I happened upon these origami flowers through the web & fell in love with them! I decided to attach the flower to a super easy-to-make corner bookmark, which comes in very handy because I am an avid reader. I also think this would make a lovely gift, especially if it accompanied a book to a special person!

1. Gather your supplies: five 2 1/2 squares of double sided paper, distress ink, & quick grab glue.
2. Ink edges of your paper.
3. Follow the folding directions above. There are some awesome video tutorials via Google too!
4. After you finish your 1st petal, complete 4 more w/the remaining squares.
5. Using the quick grab glue, adhere the petals together to form a flower.
6. Glue your ribbon through the bottom & add a button in center for a more decorative finish.
7. Attach pearl (or bling) to center of button if desired
8. Make corner bookmark & attach other end of ribbon to top corner, covering seam.
9. You can give as a gift w/a book or keep for yourself. Either way, enjoy your lovely creation!

All of the products I used here (except the rub-ons, gingham ribbon, & vintage button,) are from the Your Memories Here Store. All of the paper, ribbon & pearls are Prima & can be found HERE in the YMH Store! I just adore Prima products & love how this project turned out. To make things easier I also used my Cricut to cut the squares, but you could also use a punch. I hope you give the kusudama flowers a try...they are very versatile for crafting. If you have any questions about the tutorial, feel free to visit my blog HERE & send me an email. I would be more than happy to help out in any way! Until next week, Happy Craftin'!

I'm also entering my project into the Etsy Inspired Challenge this week...such a great site to check out!!

EIC - Inspired by Putu Princess Esape's Lily Pond Organic Tee

Thursday, November 4, 2010

Bushels of Blessings Card & Apple Butter Recipe!

Once again it is Thursday & time for me to share my latest project using a fabulous 2 Cute creation! This little gift card, which accompanies some apple butter I made for the neighbors, features the Baby Pumpkin Apple digi & it can be found HERE in the new 2 Cute Store - which showcases all the digital & cling stamps you can purchase! Isn't this digi just the cutest too...especially for yummy fall & harvest gifts?!

Supplies
Baby Pumpkin Apple digi by 2 Cute Rubber Stamps
Coloring Pencils - Prisma
Pens - White Sakura Jelly Roll & Black Copic Atyou Spica Glitter
Cardstock - The Paper Temptress & The Paper Studio
Patterned Paper - Recollections
Sentiment & Rhinestones - Studio G
Ink - Stampin' Up
Flowers - Prima
Eyelets - We R Memory Keepers
Canning - Ball 4 oz quilted crystal jars w/lids (on clearance @ Wal-Mart now!)
Stash - Jute & Pop Dots

And if you would like to make some yummy, delicious, oh so good apple butter of your own, here's the easy & awesome recipe!

Homemade Apple Butter
Fill your crockpot nearly to the top with peeled, cored & sliced apples - I used some from a tree in our backyard & I am not sure of the type but most apples will work. Cook on low setting for 10 hours & it is best to do this part overnight, but that is up to you! After 10 hours, it will be reduced significantly & look black, but don't worry you are still doing it right!! Add 4 cups of sugar, 1/2 tsp. ground cloves, & 3 tsp. of cinnamon. Stir, put the lid back on, & cook on low another 6 hours. Once the 6 hours are up, add 1/2 tsp. of lemon juice & stir, put the lid back on & turn the crockpot off. Let it stand for 1 hour & your apple butter will be ready for canning & giving...or keeping & eating right away! lol! For a great source on quick & easy canning, visit this site HERE. I didn't use her apple butter recipe, but her suggestions for canning were wonderful. Super easy, & while it took longer than 10 minutes for my lids to 'pop,' it was still the most helpful canning site for something simple like apple butter! Also, if you can it, it will keep for up to 1 year in the pantry, but once you open it (or don't can it) it will last 3 weeks in the fridge.

I hope you like my little card & apple butter recipe! Thanks for stopping by & I would love to have you visit the 2 Cute DT site! And, don't forget to visit the new 2 Cute store! There are so many fab stamps to check out, many perfect for the fall season, plus a brand new digi that is awesome! Until next time, Happy Craftin'!

I'm also linking up to the following link parties...check 'em out cause they're awesome!

Show and Tell Green

And these challenges too!

EIC - Inspired by BeiLeXian's Apple Tree Print
Our Creative Corner - Photo Inspiration (cozy, fall feeling!)
Speedy the Cat/Mark's Finest Papers - Holiday (harvest/thanksgiving)
Catch the Bug - Fall/Autumn


Friday, October 29, 2010

Candy Corn Wreath!

Hey everyone! Hope you are all having a fabulous Friday! Are you ready for the weekend...filled with frights, fun, & lots of candy? I know we are...we LOVE Halloween! I wanted to pop back in today to share with you a quick, inexpensive & fun little wreath I whipped up this week!

The best thing about this wreath, other than its total cuteness, is the fact that it only cost $4. Yep, $4!! I purchased all the items at my local Dollar Tree: 2 bags of candy corn, black electrical tape, & foam wreath form. I already had the ribbon in my craft room from a leftover Christmas present & with glue gun in hand, I proceeded to craft up a storm. It should be noted that I did accidentally hot glue a candy corn to my ankle, but I made it through in one piece...LOL!!

To make this wreath (I did get the idea for it out of my Woman's Day magazine but changed up a few things...price & tape type) simply wrap your wreath form in black electrical tape. Then, hot glue rows of candy corn, in alternating directions, completely around your wreath - except for the back. Add your chosen ribbon & voila!! You have a super cute Halloween/Fall wreath that your friends, family & neighbors will love! Make sure to check back in the next week for some more fun projects...including another Fall wreath, homemade apple butter, & a cute bookmark tutorial! Until then, Happy Craftin'!!

I'm also linkin' my crafty idea up to the following link parties!!

Show and Tell Green

giveaways


Related Posts with Thumbnails